


Frozen Cake
I finally found the time to make a cake. And as I could notice at my job (at Kitschcakes), all little girls want Elsa on their cake. So, it’s on this theme that I have done this chocolate cake.
I must say that I’m pretty proud of the isomalt castle, because it was the first time I used isomalt. I first colored it and here is how made the differents shapes:
- Prepare forms in which you’ll put your hot isomalt. To do this, you just have to create your own form in aluminium foil. This form must have flat bottom (or no, haha) and small edges on the sides.
- Melt isomalt according to package directions (for me, it was 30 seconds in the microwave, mix it, again 30 seconds in the microwave, mix it, and a last time 30 seconds in the microwave).
- Wait until small bubbles on the surface of your isomalt disappear (by doing this, your isomalt will contains no bubbles).
- Colors your isomalt if desired.
- Put isomalt in your aluminium forms created before.
- Wait until isomalt dry completely and gently removes the aluminium foil.
Be careful that your aluminium forms are smooth, because if they don’t, isomalt can spread between two layers of aluminium foil sheets and you’ll get aluminium foil inside your dry form.
Here is a picture of the cake:
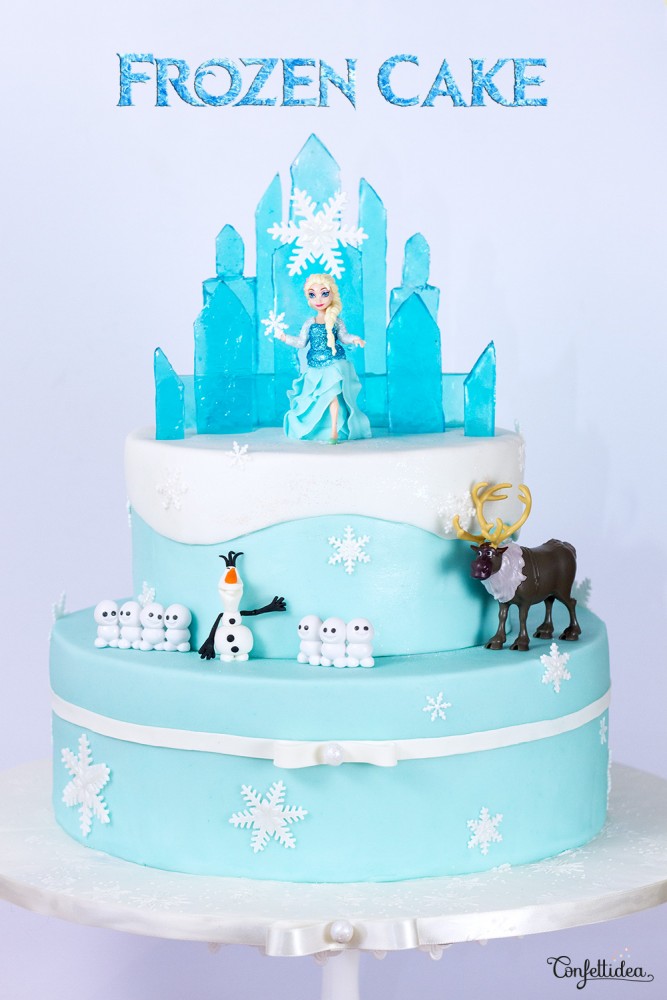
I worked for the first time with the Saracino sugarpaste. I’m amazed by this sugarpaste. It’s so amazing how it’s pleasant to work with it. As it doesn’t dry immediately, the final details can be worked quietly. No stress.
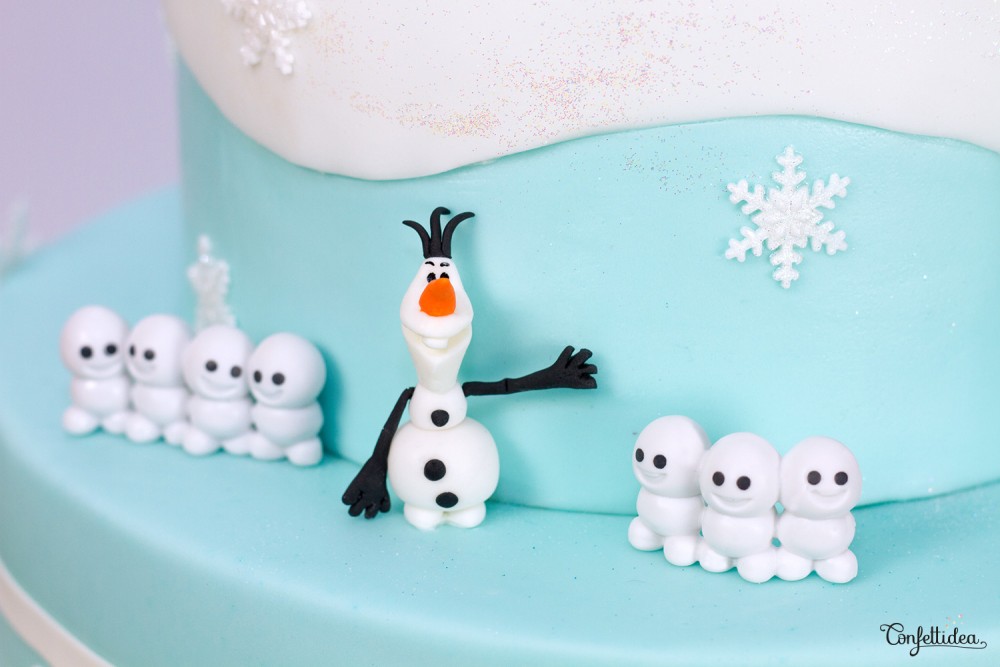
For curious, here is a closer picture of Olaf:
PS: I try to write in english but it isn’t my first language. Sorry if you find some mistakes.
