Louboutin Paper Shoes
A few days ago was the birthday of a very good friend of mine. She turns 30 years old and for her gift we all collect money to offer her a wonderful gift: Louboutin shoes. Indeed my friend Emma is a real fashion victim. We met at “l’Ecole d’Arts Appliqués de la Chaux-de-Fonds” in 2004. She studied “fashion design” and I studied “graphic design”. Since then, we still are good friends. And I’m very thankful to have her in my life as a friend because she’s a very kind person always in a good mood. 😉

PS: I try to write in english but it isn’t my mother tongue. Sorry if you find some mistakes.
So, to get back on our paper craft… we still had to find something to offer her on the day of her birthday. So, I made this paper shoe using a template I found on this amazing Etsy shop: “Paper Amaze”. The model of shoe I used is this one (click here!):
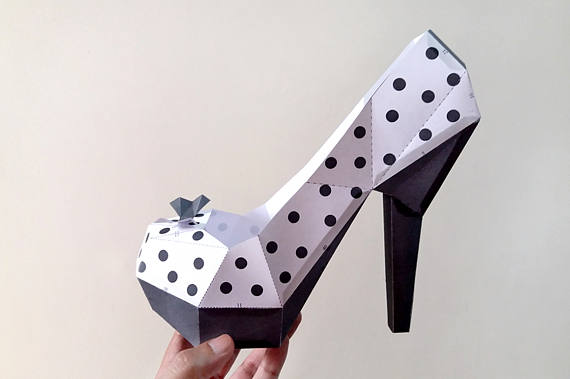
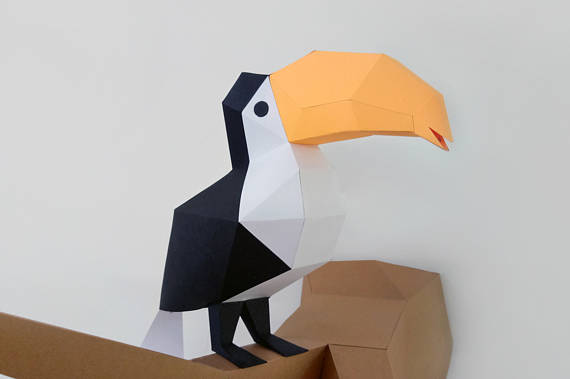
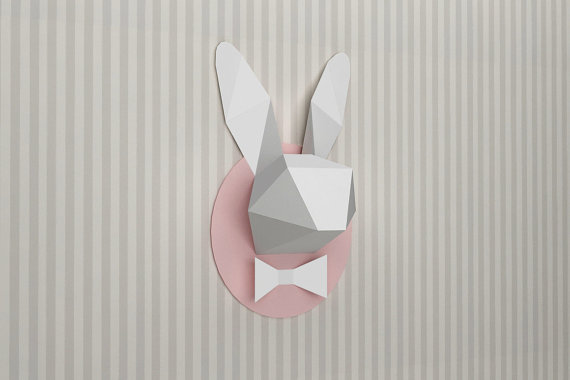
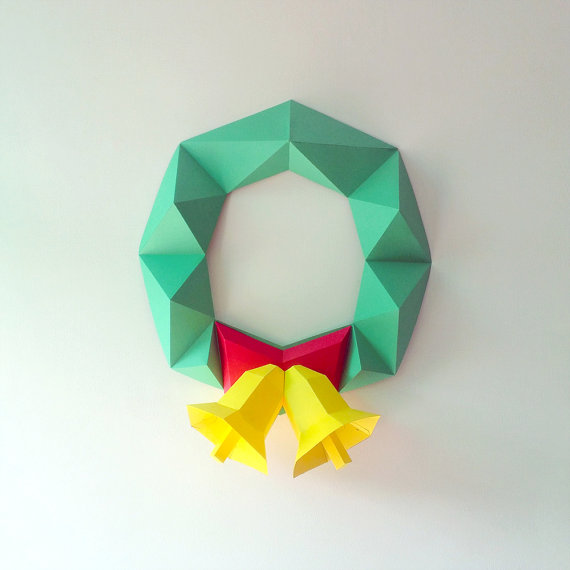
On this shop, you will find many fantastic ideas. I also bought the toucan:
But here, I’ll show you how to make the shoe:
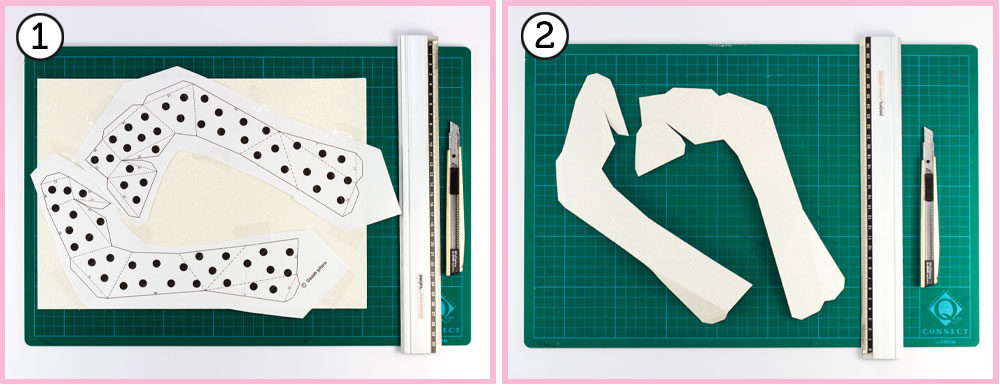
- First, buy the template here, and print it. I wanted to make the upper part of the shoe in a white glitter paper, so I used scotch tape to fi the printed template on my glitter paper. Then I cut out the 2 first pieces.
- By following the scored lines, I score the folds using my cutter (pressing just a little bit with my cutter because I didn’t want to cut the paper but only mark it).
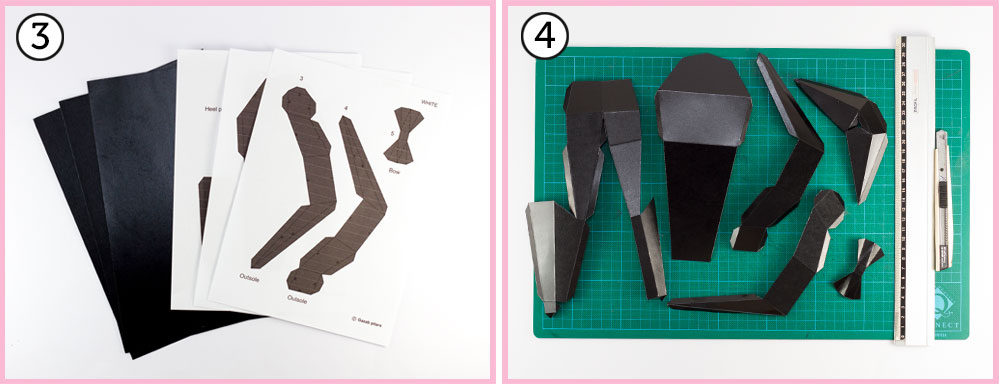
- Then cut all the other parts of the shoe. I chose a glossy black cardstock.
- And then, do the same as step 2 and mark the folds with your cutter.
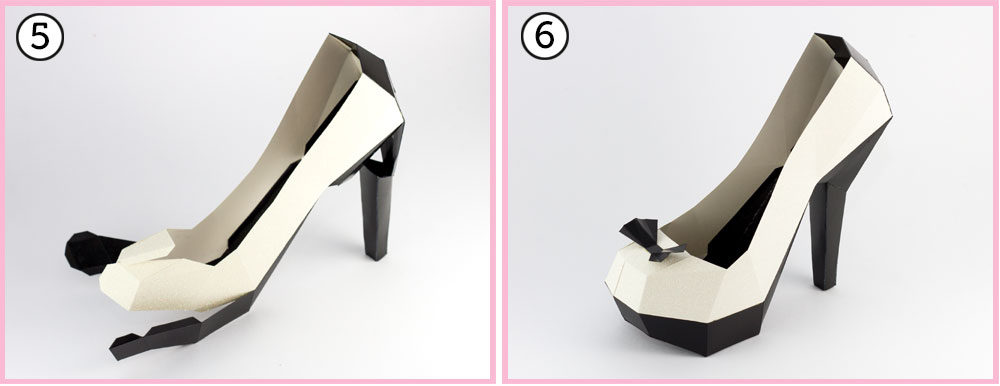
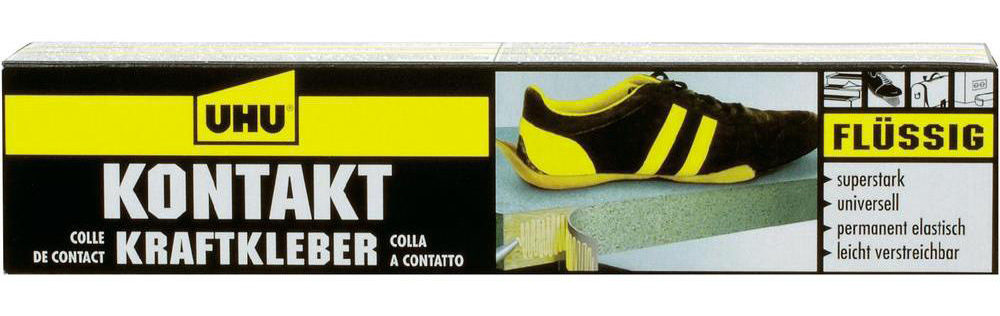
- This is the moment of truth. It’s now that all your work (your cutting precision and your time) is rewarded. I glued all the part together with a contact glue. It’s a special extra strong glue which functions as follows: apply glue on both side. When the glue is dry (after about 10 min), squeeze together and strongly the two parts against each other (use force and not duration to glue them well). However, no correction is possible… so hold your breath and glue all the parts together.
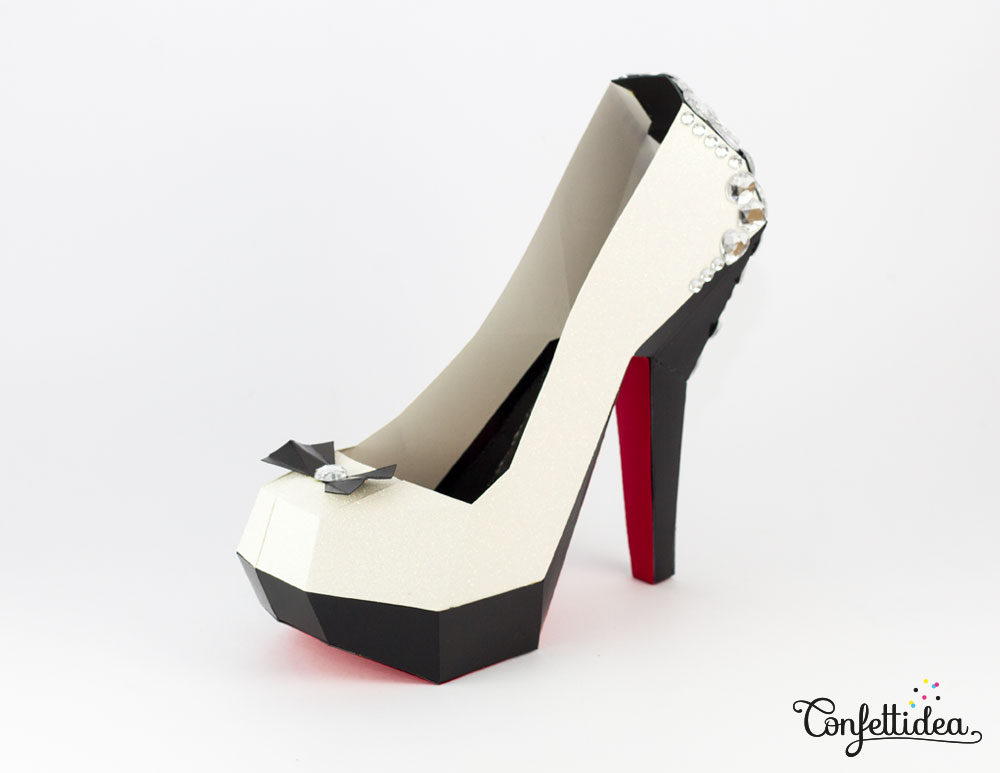
- And here is the result when all the parts are assembled.
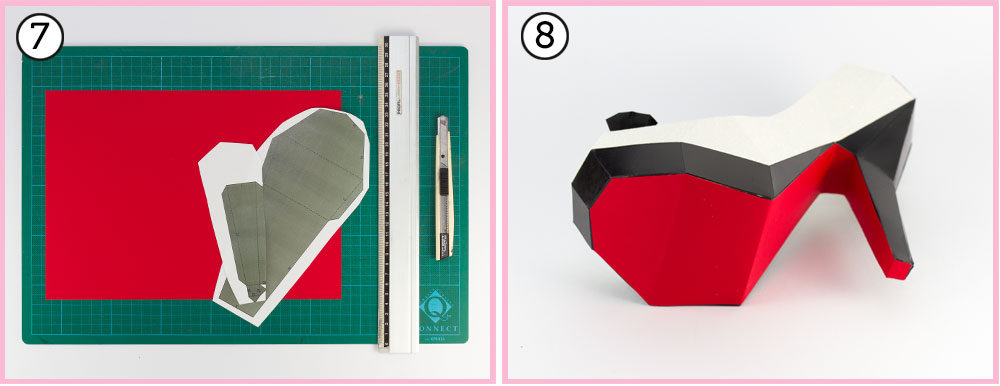
- Normally your shoe is finished at step 6. But who says Louboutin, said red sole. I printed agin the heel and sole part. Then, I cut these shapes out of red paper.
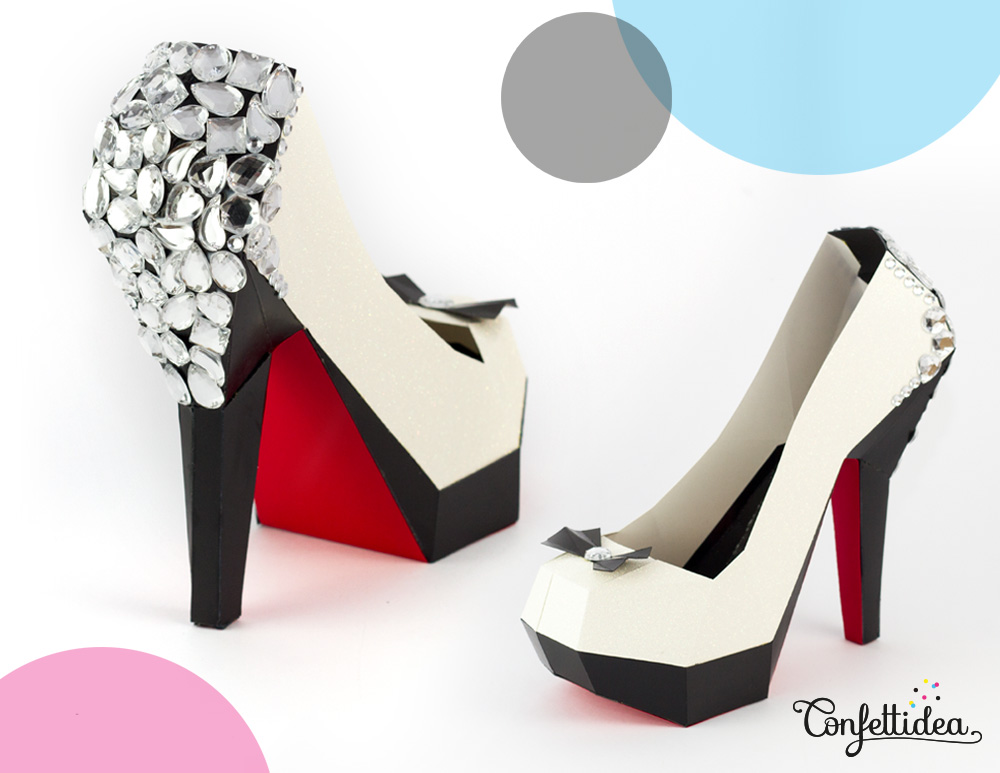
- I glued red paper under the shoe. Voilà, how you can transform a nice standard shoe into a luxury shoe 😉
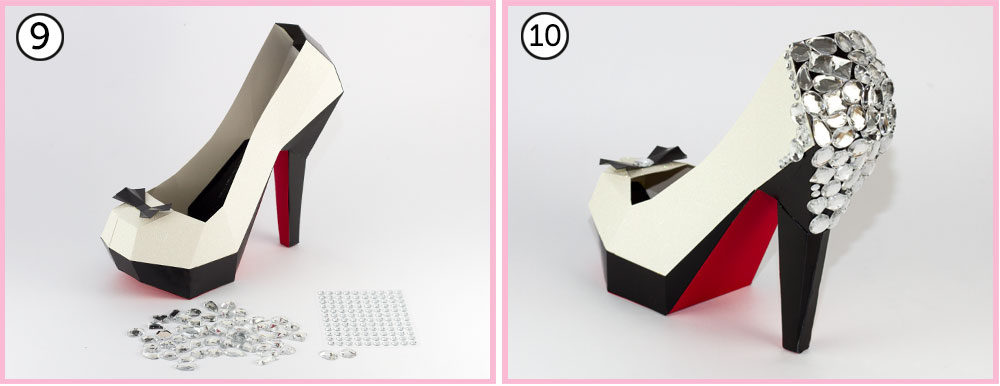
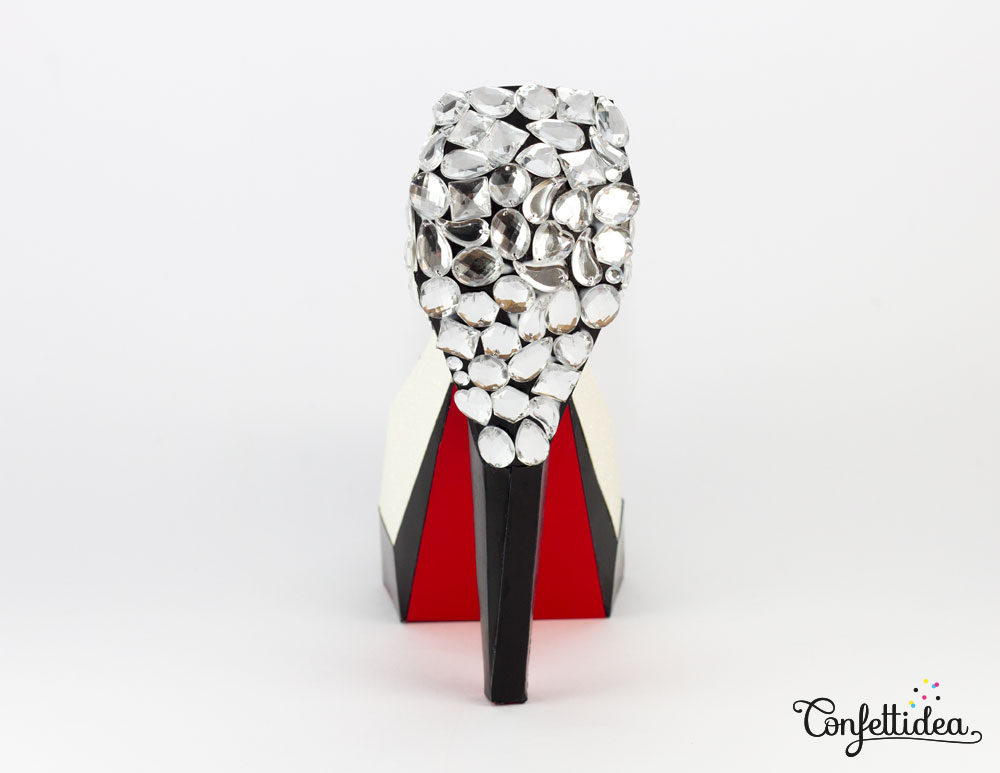
- Knowing Emma and her “Bling-Bling” taste for shoes, I decided to add diamonds on the back of the shoe.
- I glued all the diamonds with a simple white glue (I did not use the contact glue because it would have left yellowish traces).