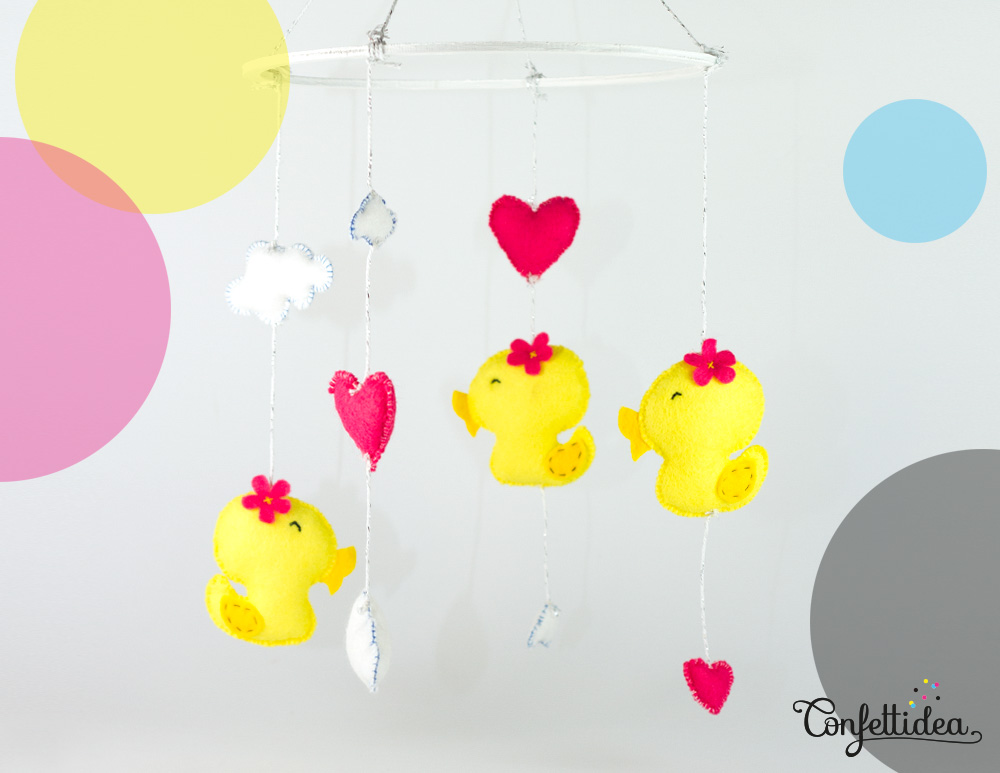
Handmade Baby Mobile
I am very very very happy to announce that I am aunt again 🙂 Tata Cookie is back 🙂 Indeed, my little sister and her lover had a little Lycia. I absolutely wanted to offer them a unique gift for the birth of this little “coqueliquette”.
PS: I try to write in english but it isn’t my mother tongue. Sorry if you find some mistakes.
When we were young, my sister and I had invented a “Super” song. I decided to take up the general idea of this song which is: “We are chicks sisters.” And make a baby mobile with small ducks… I know ducks are not chicks… but small yellow ducks are too cute for a baby mobile.
If you would like to make this baby mobile, all the steps and the template of the shapes are available below!
Otherwise, you can also create your own shapes on a different theme. Like a marine theme with colorful whales would be really amazing 😉 to try one time…
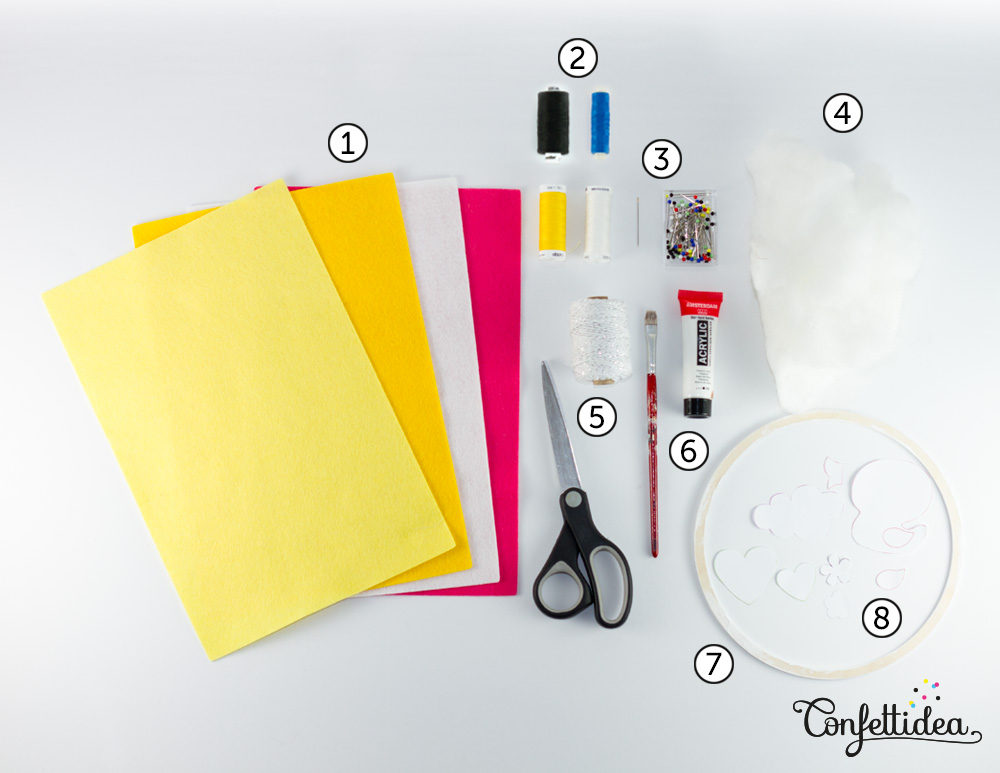
Here is what you need:
- Light yellow, yellow/orange, white and fuchsia felt.
- Black, blue, yellow and white sewing thread.
- A needle and pins.
- Cotton Wool.
- Scissors and string (whichever you choose).
- A brush and white acrylic paint.
- A wooden circle about 25 cm in diameter.
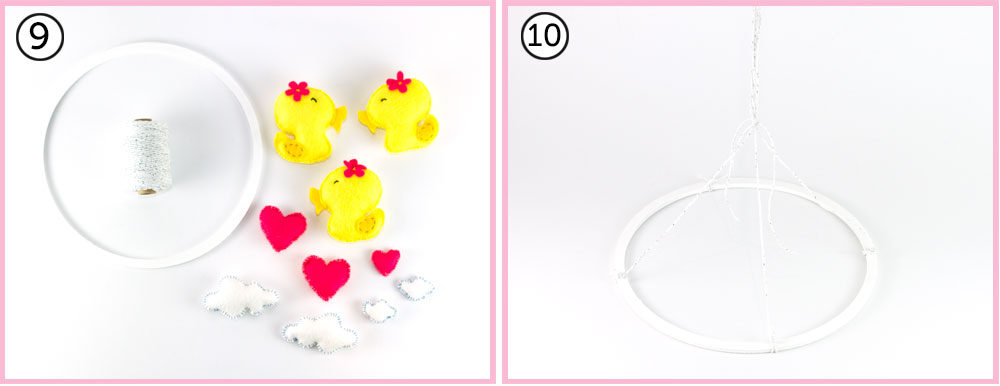
- The cut shapes of the template.
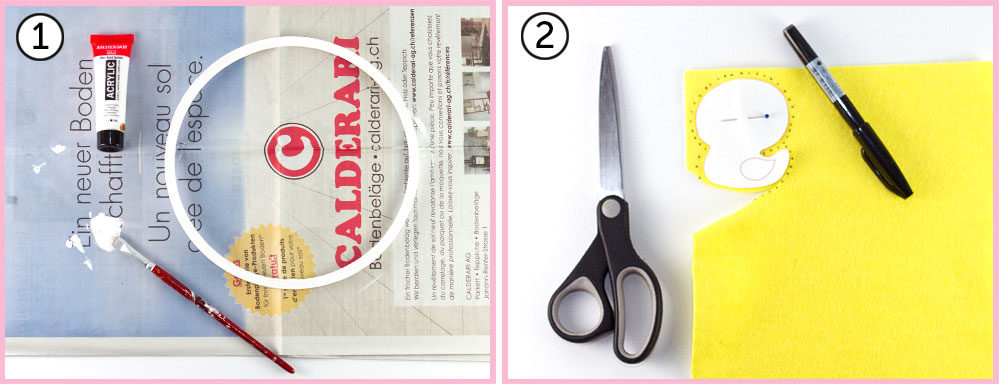
- Paint the wooden circle with white acrylic paint.
- Pin the shape of a duck on the yellow felt and cut out about 5mm around the shape.
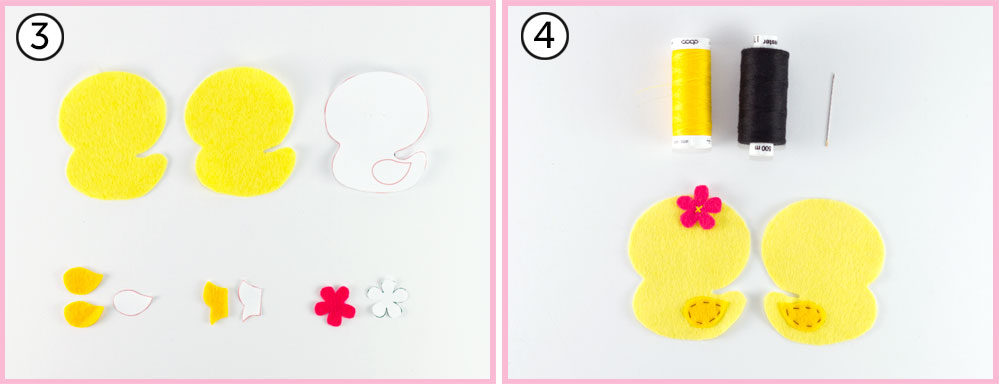
- For one duck you will need: 2x yellow body, 2x yellow/oragne wings, 1x yellow/orange beak, 1x fuchsia flower.
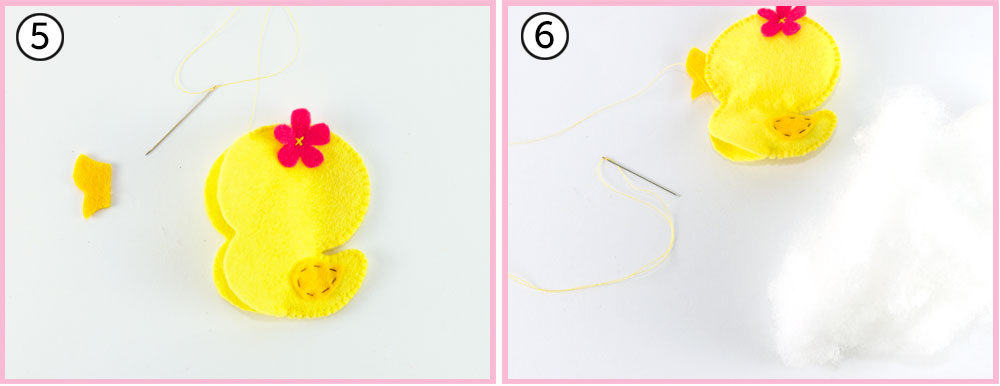
- Sew the wings on each side of the duck using the black wire. Also sew the fuchsia flower on the duck’s head using the yellow wire by creating a cross.
- Sew the two faces together using the yellow wire and making feston stitches. To know how to make the feston stitch (very easy), watch the video below. When you reach the place where the beak should be, you have to sew it on both sides of the duck by inserting it between the two yellow felts. You can continue to make the feston point to sew the beak with the yellow felts.
- Before closing the duck, stuff it with the cotton wool.
- Creates the eyes by sewing a small black semicircle on each side of the duck. For this mobile, I created three ducks.
- Prepares other shapes (clouds and hearts) in the same way. I sewed the clouds with blue wire and the hearts with a red wire (but a white wire is also perfect).
- When all shapes are finished, you are ready for assembly.
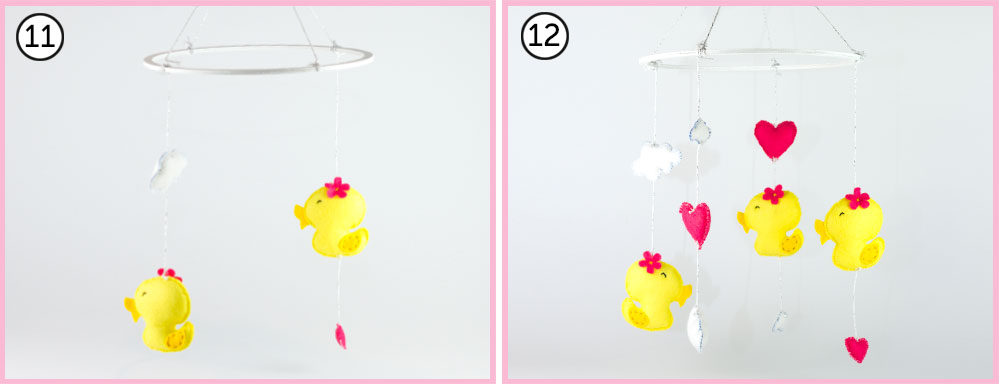
- Begin by tying 4 pieces of string to the wooden circle with the same space between each pieces of string. Then, join these 4 strings in the center of the circle creating as a triangle in height and make a knot. It’s up to you to cut 3 strings and keep only one that will act as a central string to hang the mobile. Otherwise you can also make a braid or a roll with the 4 strings. ATTENTION, if you cut the strings, be certain that everything is well knotted and fixed. We wouldn’t like that the mobile falls on the baby or the baby chokes with a small element of the mobile or a string !!!
- Begin by putting the elements on the mobile. To do this, tie a piece of string in the same place on the wooden circle as the strings previously knotted. Hang a cloud or a duck at the other end of the string. To do this, you have to sew the string in the figurine (again, ATTENTION to very well sew the figurines with the string so that they will not fall on the baby!!!).
- Assemble all your figures on the wooden circle and your work is ready 🙂
I hope you had enjoy this tutorial and that maybe you will create a mobile for baby too, whatever your theme. I think this is a good gift idea for a birth as it is a homemade and customizable gift that stays in time and that is useful.
